Basic Scheduling in Time and Attendance creates employee schedules that the time card can reference for alerts, rounding, and clock lockout.
Employees can view their individual schedule in the Employee Portal as well as the mobile app.
This article does not apply to TimeSimplicity smart scheduling; it explains how to create a schedule using the native Scheduling Feature in timekeeping.
Navigation
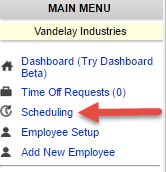
Basic Scheduling is accessed with the Scheduling link under the Main Menu. This feature needs to be enabled in the Processing Rules by your provider and will not work with accounts already using TimeSimplicity.
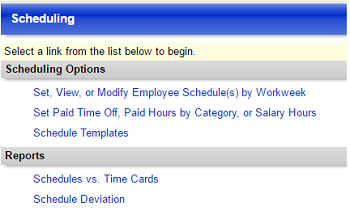
The Scheduling Home page presents a list of schedule-related links for creating schedules and viewing reports based on schedules.
At any time, you can navigate back to this page with the Scheduling Home link near the upper right of the page.
Choose Set, View or Modify Employee Schedules by Workweek to view schedules for the current week. You can navigate to previous or future weeks using the links near the right of the page.
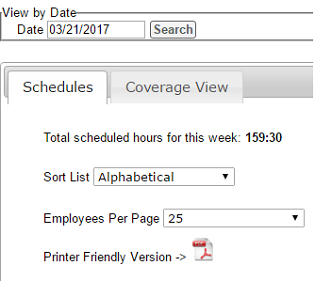
The page defaults to display 25 employees, so not all employees can be viewed on one screen. You can change the pagination with the dropdown near the top left of the schedules. The system will not retain pagination values when you navigate away from the page.
You can also sort and filter the employees by certain Employee Setup fields with the Sort List dropdown. The options are:
- Employee Code
- Department
- Location
- Supervisor
- Title
- Start Date
The selected column will be added to the schedule and sorted by that field.
Show Only allows you to filter the employees by a Department, Location or Supervisor.
The Scheduling page, which shows the employee schedules, has two tabs: Schedules and Coverage View.
- Choose the Schedules tab when you want to view or edit schedules. This tab will open to the current week. There is also an option for a Printer Friendly Version near the left of the page.
- Coverage View will show staffing over a 24-hour period in hourly increments.
Create a Schedule
Creating a schedule for employees is done with the Set, View or Modify Employee Schedule by Workweek link on the Scheduling Home page. Make sure the Schedule tab, not the Coverage View is selected.
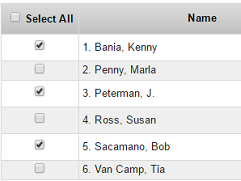
- Use the checkboxes to select one or more employees for which you want to create a schedule. The checkboxes are a great way to simultaneously set schedules for employees that work identical shifts. Note: Do not click the employee’s name. That will bring up their time/schedule comparison window.
- Click Set / Modify Schedule.
- Set Start/End Dates is where you can create one of two types of schedules:
-
- Limit with Dates means the schedule will start and end on the defined dates. If the employee has a recurring schedule during any part of that date range, the date limited schedule will overwrite the recurring schedule.
- Don’t Limit with Dates allows you to create an on-going schedule with a repeating pattern.
Note: Recurring schedules will be applied to the next full week, not during the current week. There is no way to apply a recurring schedule to the current week. You will need to create a date limited schedule for that purpose.
- Click Next. If you need to make changes after you have clicked Next, use the Back button to return to the previous step in the process.
- In the Apply Existing Template section, choose Create a new schedule. More on using schedule templates can be found in the Schedule templates article. Click Next.
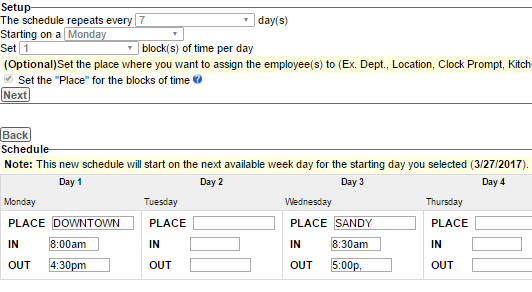
- In Setup, designate the pattern of schedule recurrence between 2 and 59 days. The pattern of repetition can be applied to both date limited and recurring schedules, the only difference is that a date limited schedules will eventually stop.
For recurring schedules, you can designate the day of the week on which the schedule starts. - Setting the Blocks allows you to break the day into multiple schedule segments. It defaults to 2 blocks, but if you are only scheduling the employee’s start and stop time, enter 1 block.
- The optional Place checkmark will add a field where you can add some additional data to the schedule. This field will not be visible on the time card, only when viewing the schedule. Click Next.
- Designate the IN and OUT times in the empty schedule fields. You can use military times for faster entry and the schedule will convert to am/pm.
- If you would like to save this this schedule as a template for future use, give it a template name in the text box. Click Save. You will see a warning about schedules that span midnight which can be advanced past.